Some Facebook Chat Image Code

0 comments

[[facebook]] - facebook
[[msn]] - msn
[[yahoo]] - yahoo
[[skypee]] - skypee
[[youtube]] - youtube
[[google]] - google
[[mac]] - mac
[[329135820464185]] – angel
[[329135840464183]] – angry
[[329135853797515]] – bad
[[329135873797513]] – beer
[[329135897130844]] – bowl
[[329135923797508]] – boy
[[329135930464174]] – brb
[[329135960464171]] – cake[[329135987130835]] – camera
[[329136013797499]] – car
[[329136037130830]] – cat
[[329136063797494]] – cigarette
[[329136083797492]] – clock
[[329136127130821]] – coffee
[[329136157130818]] – coins
[[329136210464146]] – computer
[[329136230464144]] – confused
[[329136240464143]] – console
[[329136250464142]] – crying
[[329136277130806]] – devil
[[329136300464137]] – dog
[[329136323797468]] – don't know
[[329136337130800]] – drink
[[329136357130798]] – embarrassed
[[329136390464128]] – eyeroll
[[329136413797459]] – film
[[329136433797457]] – fingers crossed
[[329136443797456]] – foot in mouth
[[329136463797454]] – girl
[[329136487130785]] – glasses cool
[[329136510464116]] – glasses nerdy
[[329136533797447]] – good
[[329136563797444]] – handcuffs
[[329136593797441]] – high five
[[329136610464106]] – hug left
[[329136627130771]] – hug right
[[329136633797437]] – island
[[329136640464103]] – kiss
[[329136647130769]] – lamp
[[329136663797434]] – laugh
[[329136680464099]] – love
[[329136690464098]] - love over
[[329136700464097]] – mail
[[329136747130759]] – moon
[[329136783797422]] - musical note
[[329136790464088]] – neutral
[[329136817130752]] – party
[[329136847130749]] – phone
[[329136873797413]] – pizza
[[329136893797411]] – plate
[[329136917130742]] – present
thank u :)

Read More »

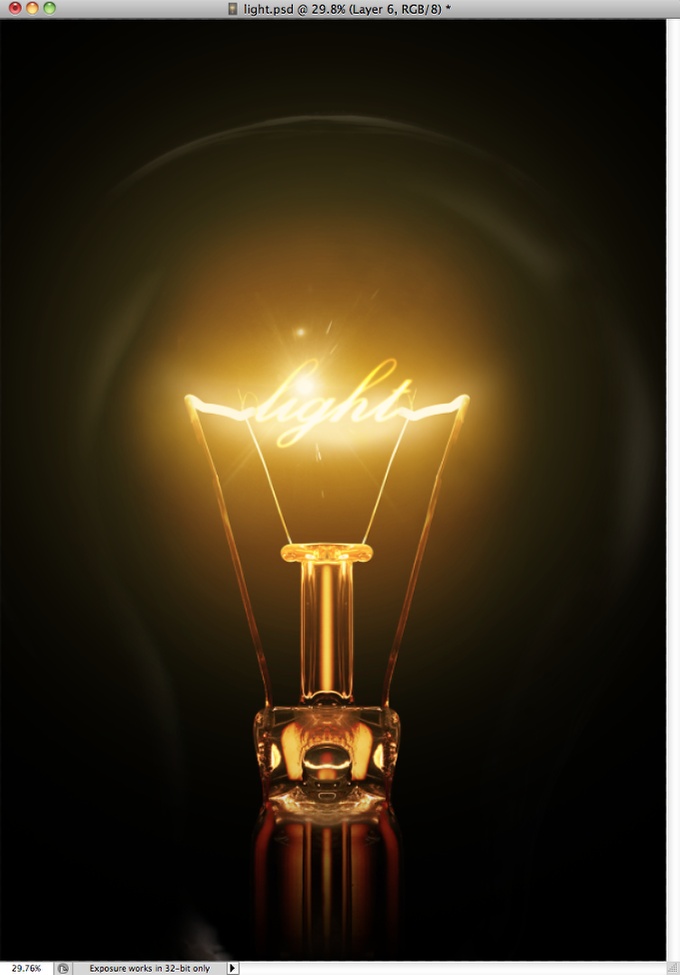
Light effects

0 comments

 Step 1

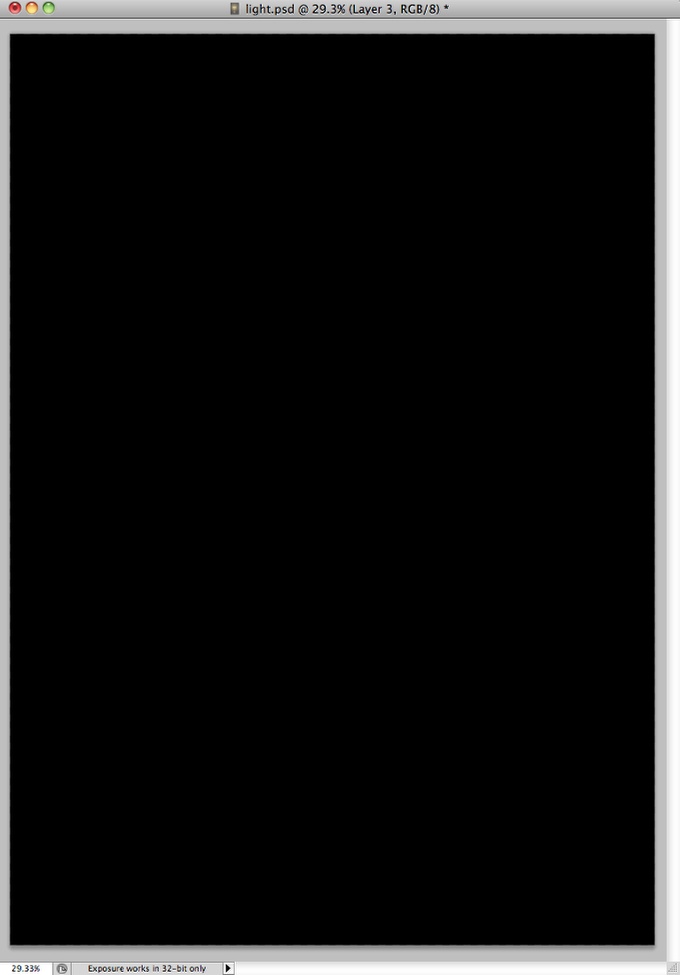
Open Photoshop and create a new document, after that make sure that the background is in black.
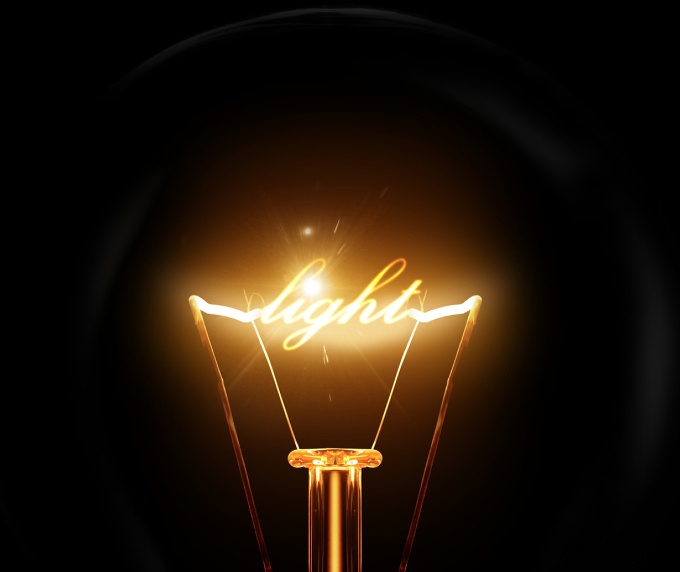
Classic Light Effect in Photoshop

Step 2

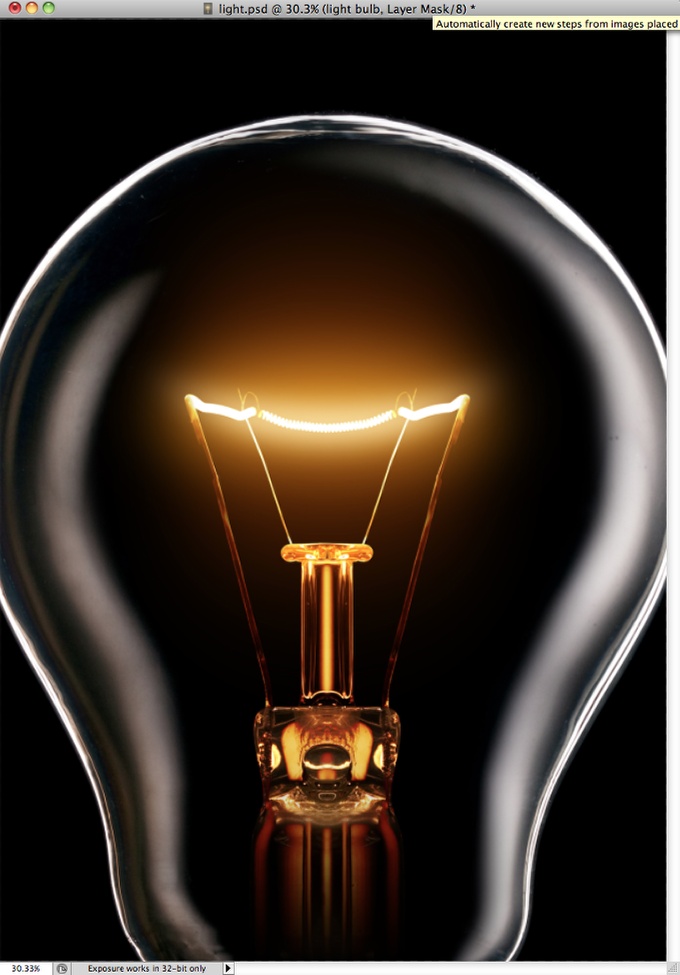
To make the effect more realistic let's use a stock photo, the one I am using is courtesy from Shutterstock and you can find it at http://www.shutterstock.com/pic-24939406/stock-photo-glowing-lamp-on-bla.... Place the image in the center of the document but make sure that the filament area is big engouh.
Classic Light Effect in Photoshop

Step 3

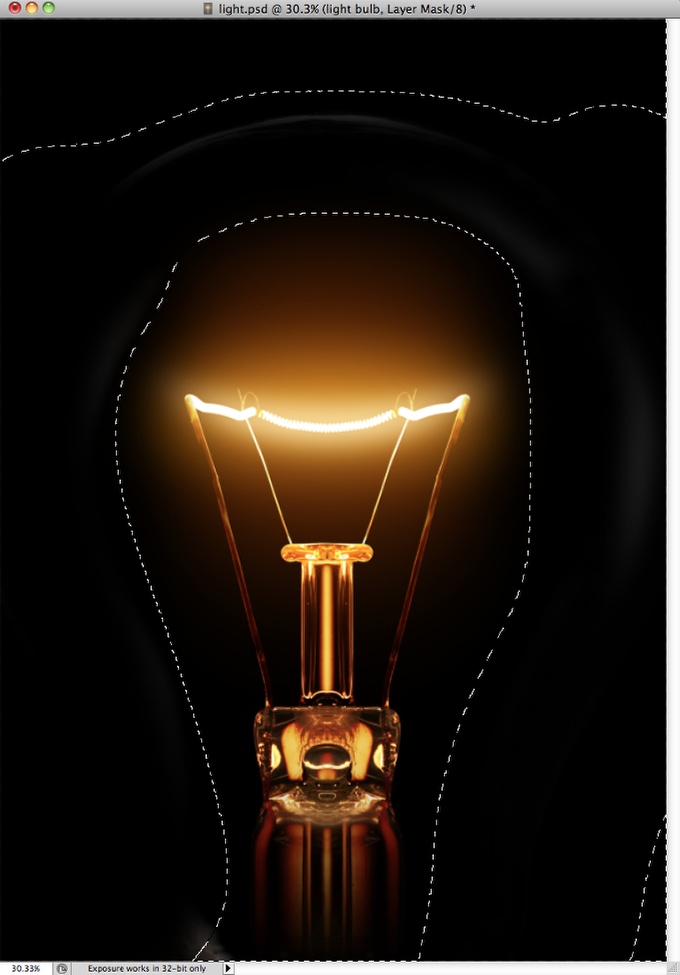
Go to Layer>Layer Mask>Reveal All. Then with the Brush Tool (B) select a very soft brush (0% hardness0 and black for the color. Start paiting the areas of the light you want to hide. Use the image below for reference.
Classic Light Effect in Photoshop

Step 4

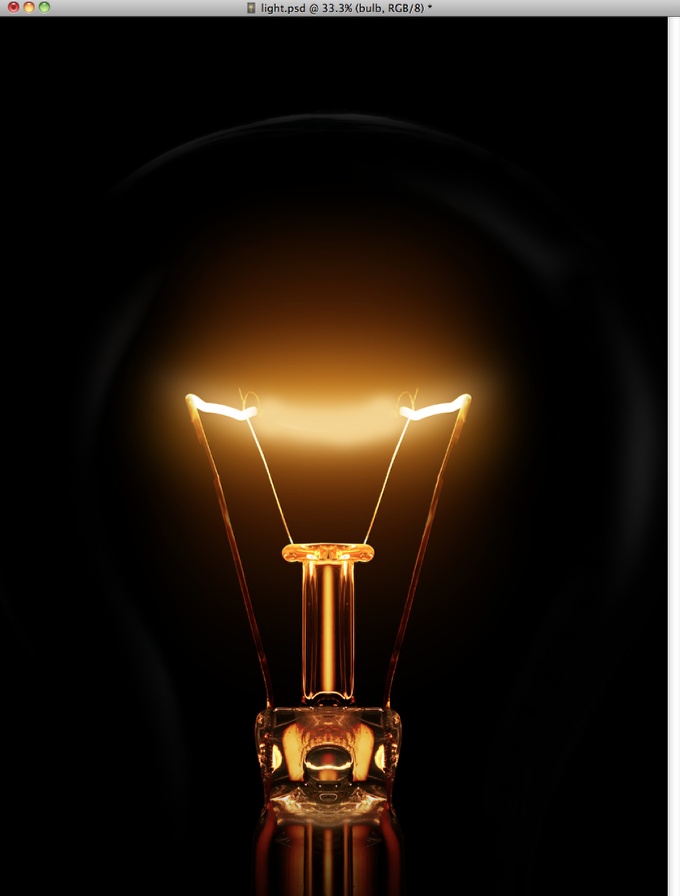
Now let's delete the filament area where we will add the text with the light effect later on. To do that is pretty easy, with the Eyedropper Tool (I) select the color of the area you will paint, the with the Brush Tool (B) and a very soft brush, start paiting over the filament. Note: I added a new layer instead of painting over. Another tip is if you are using the Brush Tool (B) you can just press Alt to use the Eyedropper Tool.
Classic Light Effect in Photoshop

Step 5

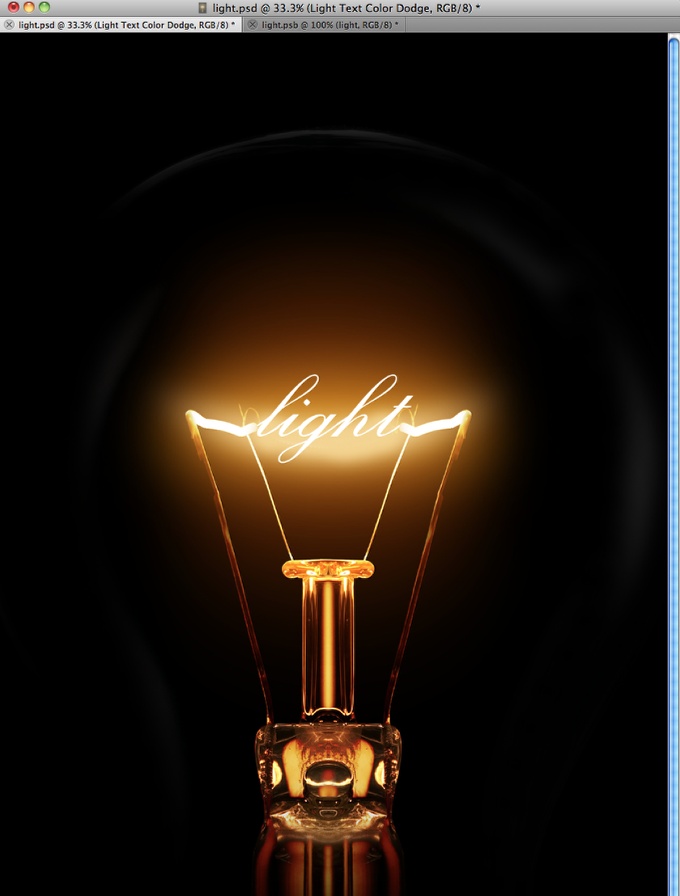
With the Horizontal Type Tool (T) add the word light in white. I am using Exmouth for the font, you can download it here http://www.dafont.com/exmouth.font. For the size I am using 82 pixels but the size will depend on your document size. After that add a new folder in the Layers Palette and change the Blend Mode of this folder to Color Dodge. Move the light text into the folder you have just created.
Classic Light Effect in Photoshop

Step 6

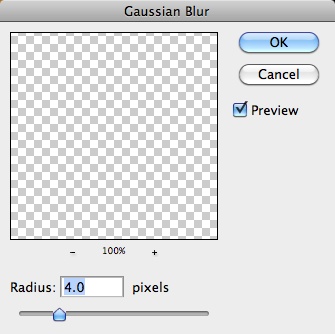
With the text selected go to Filter>Blur>Gaussian Blur. Use 4 pixels for the Radius.
Classic Light Effect in Photoshop

Step 7

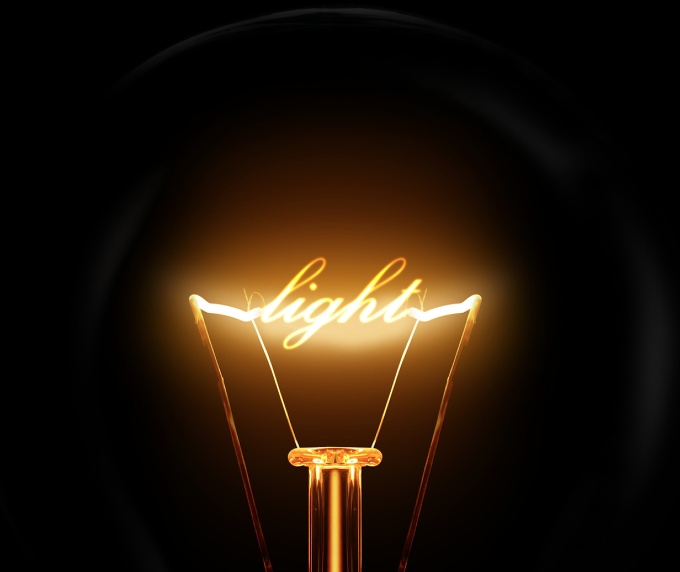
Because the white text is inside the folder with the Color Dodge, the effect will be the same as if the text layer had a black background. You can see that the edges get sort of blended with the background creating a perfect light effect.
Classic Light Effect in Photoshop

Step 8

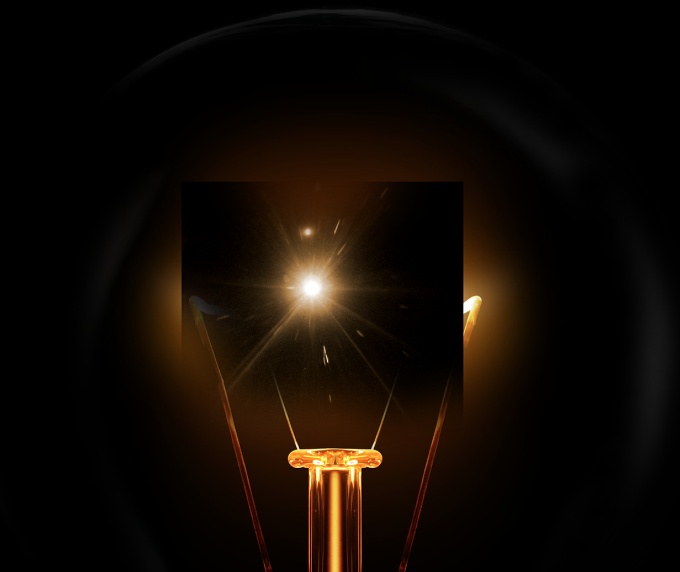
Again to add more realism, instead of creating a lens flare in Photoshop we will use a real photo. The one I am using I found in Google Images and you can find it here http://web.williams.edu/astronomy/IAU_eclipses/jmp_eclipse03_04.jpg.
Once you imported the photo the first thing to do is delete the areas that you won't be necessary and keep just the flare. After that go to Image>Adjustments>Desaturate.
Classic Light Effect in Photoshop

Step 9

With the flare layer already desaturated, just change its Blend Mode to Screen. Screen is a very useful Blend Mode because it turns what is black into full trasparency the grey scale becomes a transparency level, so it's perfect to create light effects.
Classic Light Effect in Photoshop

Step 10

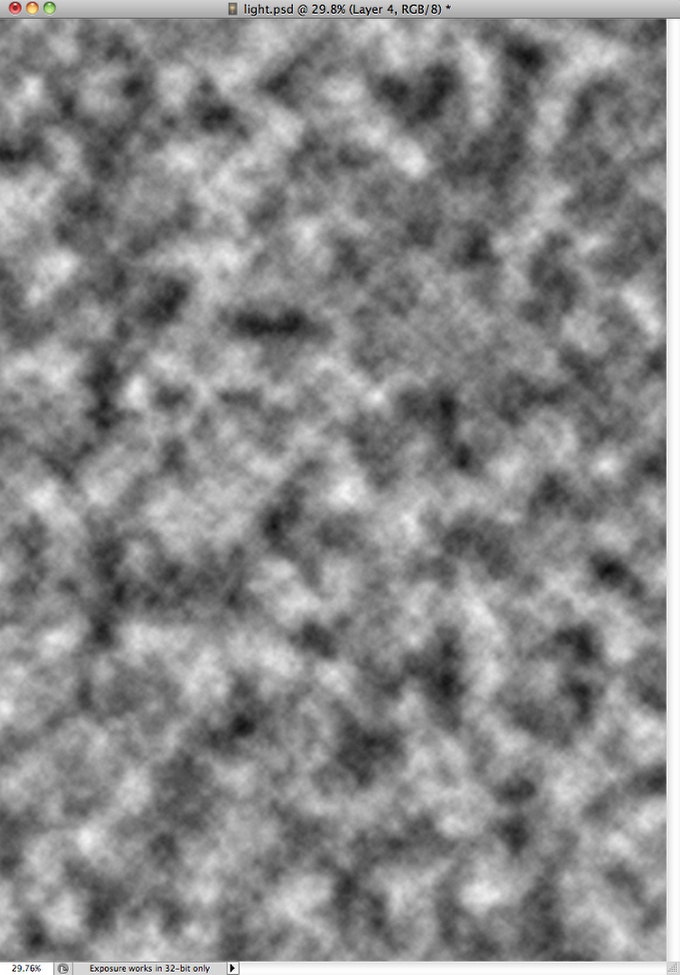
Add a new layer and go to Filter>Render>Clouds. Make sure you had black and white for the background and foreground colors. This layer also will be on top of the others.
Classic Light Effect in Photoshop

Step 11

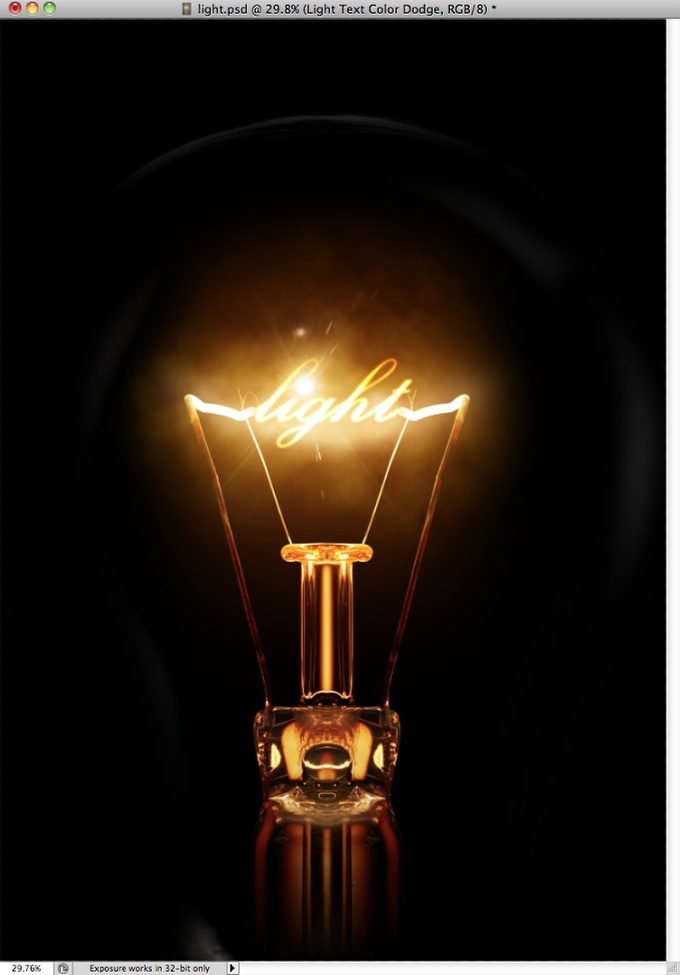
Change the clouds' layer Blend Mode to Color Dodge. After that add a new folder in the Layers Panel and move the clouds layer into it. After that change this folder's Blend Mode to Overlay.
Classic Light Effect in Photoshop

Step 12

Add a new layer inside the folder in which you moved the clouds' layer. Make sure that the new layer is beneath the clouds' layer. After that with the Brush Tool (B) and a very soft brush with #f5d38b paint a round spot in the center of the light effect. Change this layer's Blend Mode to Overlay too.
Classic Light Effect in Photoshop

Step 13

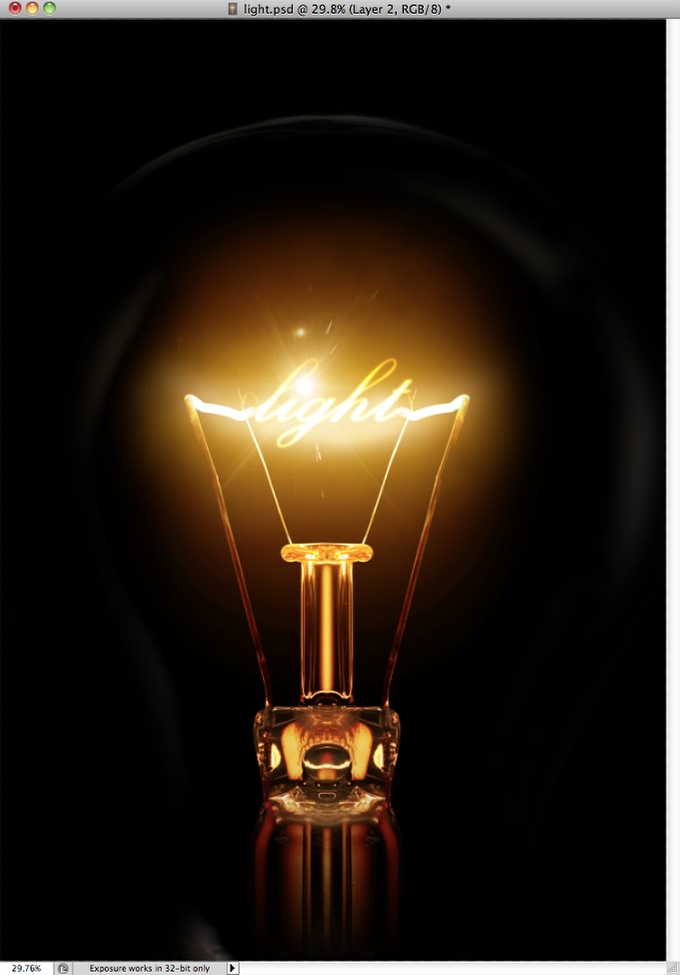
Now add another layer on top of all the others and then with the Brush Tool (B) and a big and very soft brush using white for the color, paint another big spot in the center of the light effect. After that go to Layer>Layers Styles>Color Overlay. Use #ffd648 and Linear Burn. The idea is to make the light a bit stronger.
After this we are done and as you could see, most of the light effects are all about blending colors with photos. The Blend Modes in Photoshop are very powerful for this type of effect and I would recommend you to study more about them, especially the Color Dodge one.
Classic Light Effect in Photoshop


Read More »

Realistic Rainy Window Effect in Photoshop

2 comments
Step 1
Open your model picture. You can use your own image if you can’t download this image from Photoxpress. I crop this picture to make a better effect (for this tutorial purpose). Hit C to active this tool and grab a square around the part you want to take then hit one button to complete this action.

Step 2
Press W to active Magic Wand Tool with settings below. Use Magic Wand Tool to click inside white background of this picture :

Hit Cmd/Ctrl+Shift+I to inverse this selection and we have selection for model:

Right click this selection, choose Layer via Copy and we have a new layer with extracted model. Name this layer as “model”:

Step 3
Duplicate model layer we have “model copy”. Go to Filter-Blur-Gassian Blur and set radius as 1,5 px (it depends on the sharpness of your photo):

Add layer mask and use soft black brush with opacity and flow about 50% to make some parts of model more visible:

Step 4
I want to change color of model so I use a Curves layer. Choose Layer-New adjustment layer-Curves:

Step 5
I use a Hue/Saturation layer to reduce red and magenta tone of model:

Step 6
Hit Cmd/Ctr/Shift+N to make a new layer. Choose Edit-Fill with color #605a4b:

Lower opacity of this layer to 30%:

Make a new layer fill again but with color #043157 and opacity 40%:

It’s only my favorite color choice and you’re free to make color you like.
Step 7
In this step we will make a glass window effect. Create a new layer with method used above. Set foreground and background color to white ( #ffffff) and #3a4755.

Go to Filter-Render-Clouds:

We have :

Choose Filter-Distort-Glass:

Change the mode to Soft light 80%:

Add layer mask and use soft black brush with opacity and flow 40% to blur glass effect on model face, hands:

Step 8
In some next steps I’ll show you how to make realistic rain drops. Make a new layer on the top and set foreground color to white. Hit B to active Brush tool, choose size with 3 px then press F5 to make settings of this brush as shown below:

Use brush to paint over the picture:

Name it “small drops”. Right click this layer, choose Blending Options:

Lower opacity of this layer to 50%:

Step 9
Create a new layer and use white brush with same settings but increase brush size to 9px. Paint on the pic as shown below:

Apply layer style like in step 8 but add more Drop Shadow effect:

Change opacity to 30%:

Step 10
To make rain traces on window, I use white brush with changed settings:

Make some random traces on window:

Apply same layer style done in previous step ( Drop Shadow, Inner Shadow, Bevel and Emboss) but set opacity to 20%:

Step 11
The model hands pulsing the window so them need to be clearer, darker, more visible. Come back to model layer, make selection for model hands as shown below ( don’t need to be so precise with these selections):

Copy them into a new layer ( right click, choose Layer via Copy like we did in step 2) and place this layer on the top. Call it “hands”:

Lower opacity to 10% and use layer mask to hide the edges of them:

Step 12
Click Filter-Distort-Ripple:

Then Filter-Stylize-Diffuse:

Step 13
Choose a Hue/Saturation layer above hands layer with Clipping Mask options:

Down the lightness to -100:

Step 14
To darken the hands more, I use a new layer (non-Clipping Mask) and brush with color #3a4755. Paint on right hand with brush 100% opacity and 30% for the left (as it’s darker than the right already). Put the mode as Soft light 50%:

Step 15
To change the light of picture, I use Gradient layer. Make a layer and hit G to choose Gradient Tool (with default color : black and white) with settings below:

Drag a line from bottom right to top left:

Change the mode to Soft light 100%:

Step 16
To change color and contrast of picture, I add a Curves layer:

Step 17
I use a Gradient Map layer:

Set the mode of this Gradient Map layer to Soft light 100%:

Step 18
To increase a bit contrast, I use Brightness/Contrast:

This step is optional.
Final Result

Read More »