
Create Your Own Web Apps With Stamplay
step-by-step process on creating apps.
Stamplay can be used to make web apps that integrate with services like Facebook, Google, Dropbox, and loads of other apps. This is nice because, when using Stamplay, you don't have to go out and find the APIs for each respective service—you just drag it in.
In this tutorial, I'll show you how you can create your first social network powered app, from scratch, using Stamplay.
Creating Your First Web App
To start, head over to Stamplay's website and create an account by clicking on the green Start Now button that's located towards the center of the screen. You can then sign up for an account using either your email address or your Google Account.
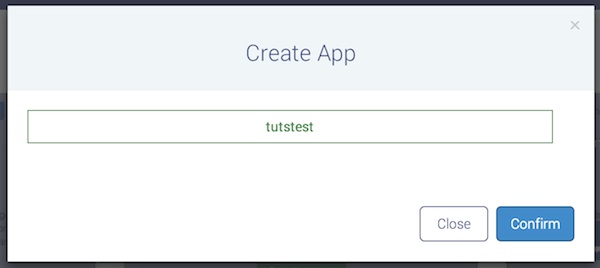
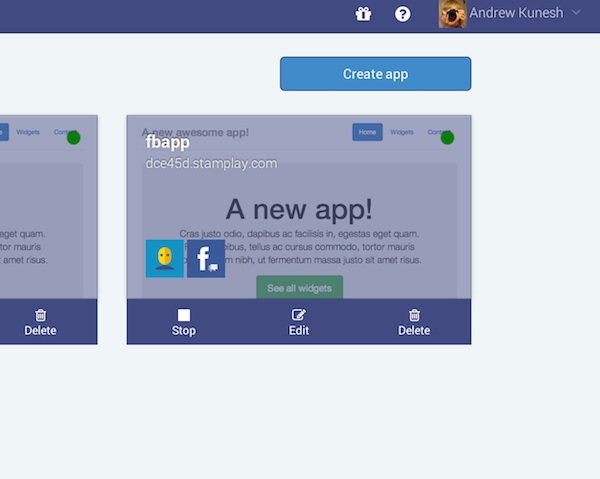
You'll now be brought to your app library. You can use this page to both view your old apps as well as start the creation of new apps. To create a new app, look towards the upper right-hand corner of the screen and click on the blue Create app button. A pop-up window will then appear asking you to name your new app. After confirming your app's name, you'll be brought to the Components page.
Components
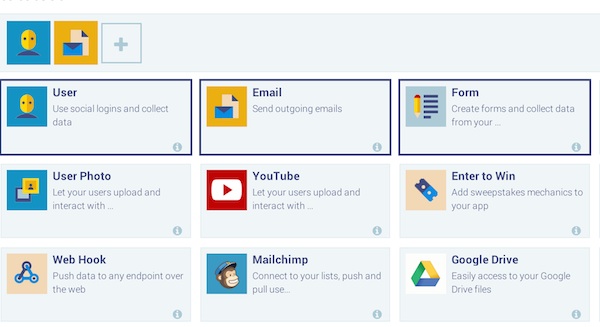
In the components page, you can choose how you'd like your user to interact with your new web app. For this example, I'm going to create an application that lets a user sign-in with Facebook, fill out a simple form, and have an email sent to their inbox.
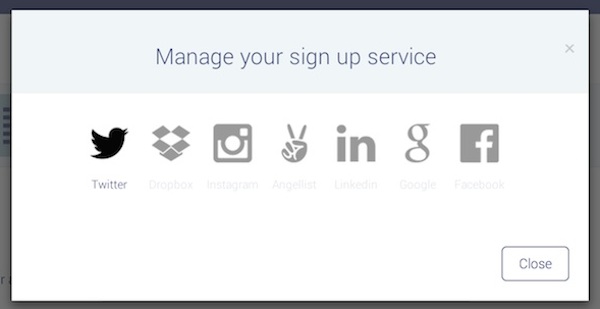
To start, click on the blue User button from the top of the window. To add Facebook login to your app, click the blue Add button from the right-hand side of the window; a popup window will appear asking you to choose a login service. For this tutorial, I'll be selecting the Facebook option.
You'll now be asked to provide an App ID and App secret. These can be acquired on Facebook's devleoper page and are used to identify your app with Facebook's servers.
Now, click the blue plus button that's located to the right of the user logo. You'll now be able to add more components to your app. Since we want to send an email to our users, click on the email option. Then, click the plus button again to be brought to the selection screen again. This time, click the form button.
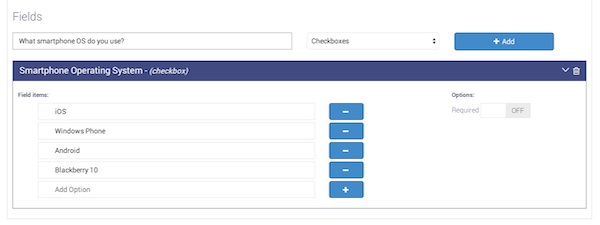
Look towards the center of the screen, you'll be able to set up your form by giving it a name and adding fields. To add fields, look to the bottom of the window under the Fields header. Use the Field Name text box to give your field a name. To the right of this text box you'll find a drop-down menu that asks what type of field you'd like to add.
For this tutorial, I'm going to be using the form to ask users what smartphone operating system they use. To do this, I'll have the user check what phone they use, so I'm going to choose radio button from the drop-down menu.
You'll now be be brought to a menu that lets you input your form's options. In the case of radio buttons, you can add your button names to the list. For my form, I'll be adding the names of smartphone operating systems to the list.
If you'd like to make a part of your form required, make sure you turn the required on/off switch to the on position. To add multiple forms to your app, click the + Add Form button from the top of the window.
Tasks
Now that you've created your form, it's time to use the Tasks tab to configure the email we're going to send to our user. Click into the Tasks button from the side-bar. Then, look towards the upper right-hand corner of the window and click the New Task button.
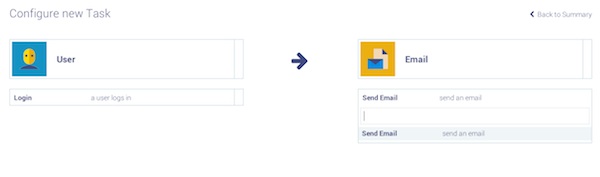
You can now choose your trigger component and action component. Your trigger component is what triggers the action component to do something. Underneath each component, you can choose how said component will be triggered. For example, you can set your trigger component as your user and have it trigger the action component when it signs into Facebook.
For this example, I'm going to set the trigger component to the user and the action component to email. Additionally, I'm going to make it so when the user signs into the app, an email is sent to their inbox.

Click the blue continue button and you'll find a header labeled Tune User. You can use this section to finely tune the User trigger, for example, if you'd only like the email sent to the user if their email ends with Gmail accounts, you can do this by clicking the Add filter button and choosing email from the Select a Property drop-down and (Text) Ends with from the drop-down menu. You can then type "@gmail.com" into the condition box and click the blue plus button to add this filter to your app.
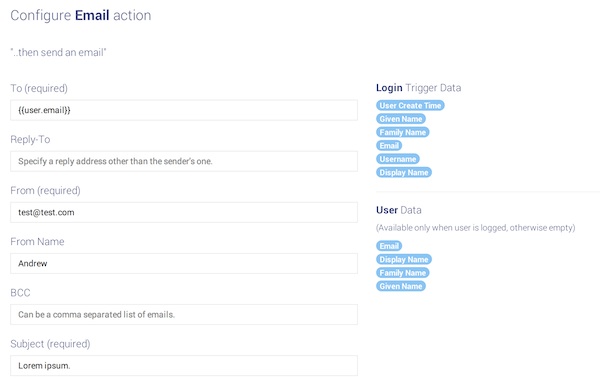
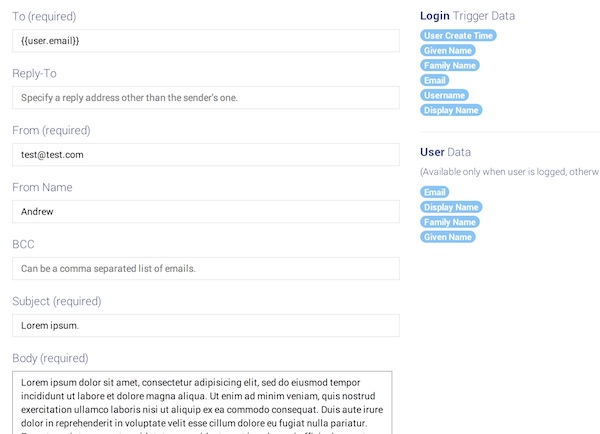
You'll now be prompted to setup your email options. Look towards the right-hand side of the window under the login trigger data header--you'll notice quite a few options. These options are information collected about your user in the Facebook sign-in process. To use this information in your form, just click into a text box and then click on its respective piece of information from the right-hand side of the window.
You can also manually type information into your email as well, something you'll want to do for your return email address and email body. Once you're done setting up your email, click the Create Task button that is located towards the bottom of the menu.
Layout
Now that you've created your tasks, it's time to build your app's front-end. To do this, click into the Layout tab from the sidebar and look towards the upper right-hand corner of the window. Click on the button labeled Change theme.
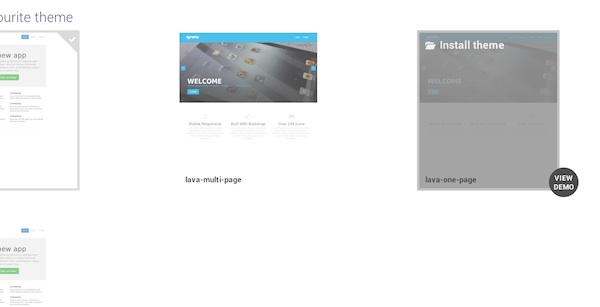
From the theme selection window, take a look at each of the included themes. When you find one you like, hover over the theme and click on the View Demo button to preview the theme. If you decide you like your new theme, click the Install Theme button.
Customizing Your Layout
Now, look to the left-hand side of the window and click on the pages drop-down menu. You will now be shown all of the HTML files that make up your web app. If you'd like to add content to your app, you can edit the HTML files to do so.
In this article, I'm using the standard Stamplay theme and have edited the home-page (index.html) to remove sample text.
Adding The Facebook Login Button
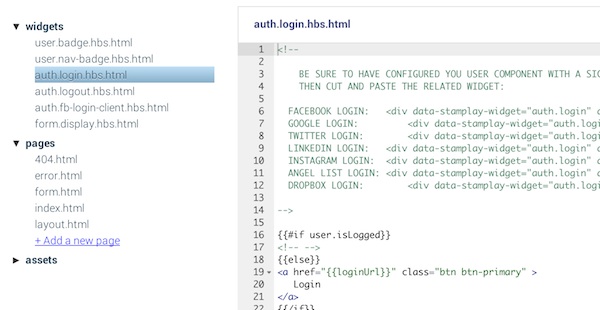
Now it's time to start edit the front-end of our web app to display the Facebook log-in button to the home-page. To do this, look to the left-hand side of the Stamplay window and click on the drop-down menu labeled widgets. Then, click the auth.login.hbs.html button and look towards the center of the page.
Look towards the center of the Stamplay window at the HTML document. Scan this document until you find a line that starts with Facebook Login and copy it. Then, open index.html document from under the pages drop-down menu.
From the index.html page, create a new <p> tag, paste the Facebook Login code, and close the <p> tag (</p>). Now, look towards the upper-right-hand corner of the Stamplay window and click the Go To App button. Your web app will now appear in a new tab.

From your app, click the new Login button and login with your Facebook account. You should then see your Facebook name and profile picture at the upper-right-hand-corner of the app. Additionally, check the email account associated with your Facebook account, if configured properly, you'll notice that the email we setup earlier has landed in your inbox.
Adding A Form To Your App
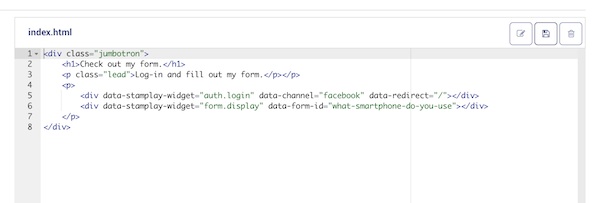
Remember the form we created earlier? It's time to add that to the front end. To do this, click into the widgets drop-down menu and click the form.display.hbs.html button to be brought to your form's HTML code. Look towards the top of the menu and copy-and-paste the first div tag your the index.html document.
However, we're not quite done yet. If you look towards the end of the tag, you'll see an area to input your form's ID that was set when creating your table. If you're unsure of your table ID, you can view it by clicking on the table button in the components tab and looking towards the center of the window.
Testing Your App
Now that your app is ready to go, test it by opening it in a new tab. You can retrieve your application's URL by clicking into the Settings tab on the left-hand sidebar and looking under the Domains header. Copy and paste this URL into a new tab and give it a whirl!
The Admin Tab
Once your app is live, you can go to the Admin tab to view responses to your form. Click into the tab and, from the drop-down menu, click the Form button. From the center of the window you can view resposnes to your form and the email addresses provided by the user's Facebook account. Additionally, if you click the Users button, you can view the name and email of every user that's used your app.
And that's a wrap!
You can now use Stamplay to make simple web apps to interact with your users and customers. In the comments, link us to your new web app—or let us know if you need any help using Stamplay!


0 comments: