
"Very Shiny Glitter Text Effect. How to create 3D style sign."

- Create a new document, I used sizes: resolution - 300px/inch 1800pxwidth and 1350px height. You may choose different size, but some tutorial settings are depending of image size and resolution.
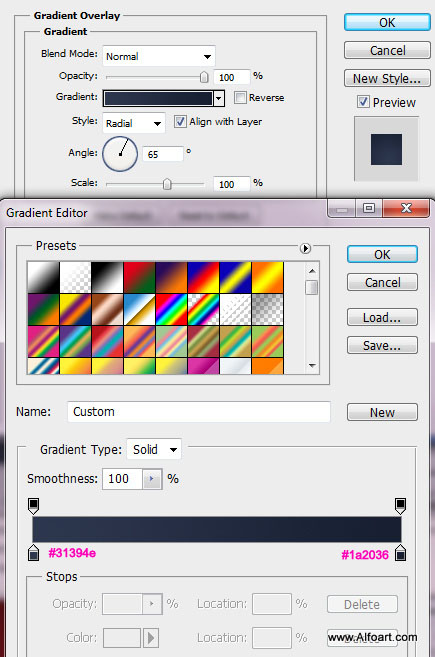
- Fill first layer with the radial gradient.

- Use following settings:
- Type any sign you want with black color, in order to get better result use bold fonts.
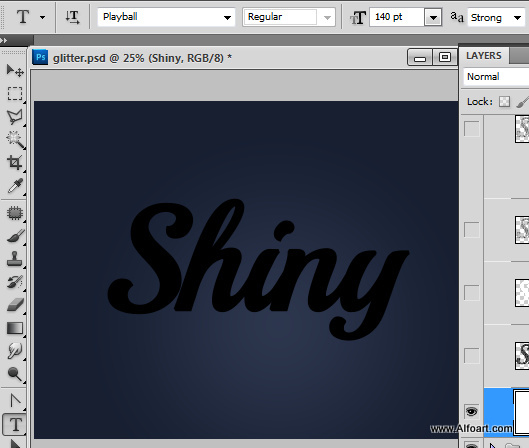
- Rasterize text layer. Adjust default background and foreground colors on the left side of Photoshop workspace like this:
.jpg)
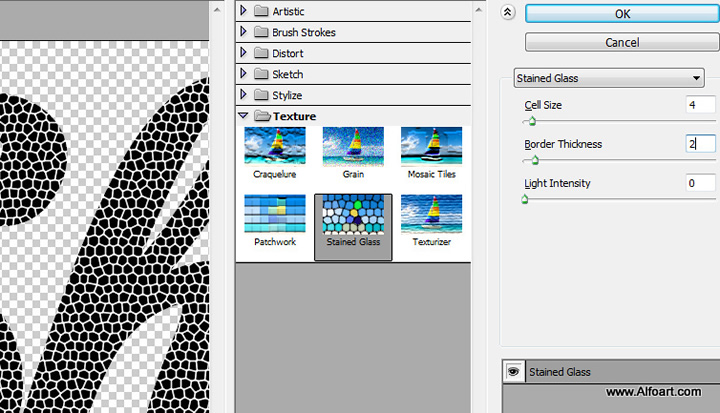
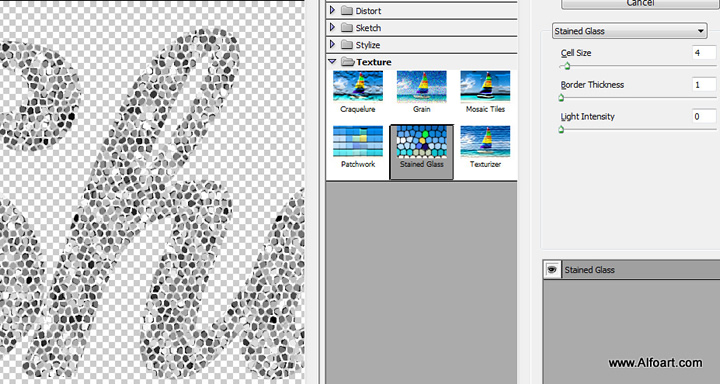
- Go to Filter > Texture > Stained Glass.
- Apply setting like on the screen shot:
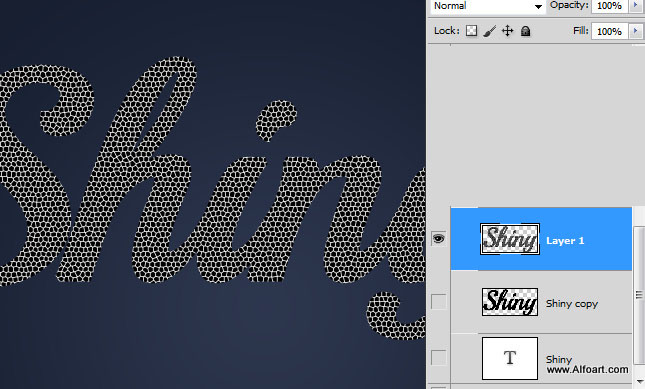
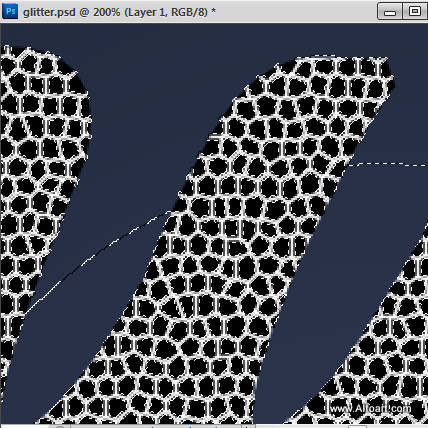
- Here is result after applying filter.
- In order to load selection for the black cells, go to Select > Color Rang > click with eyedropper to the black area.
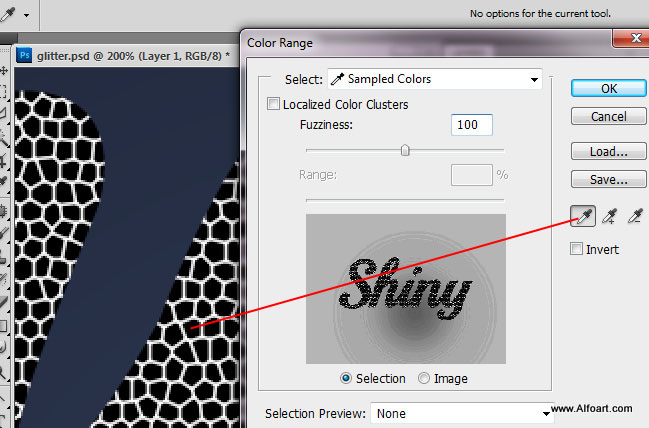
- Click "Ok".
- Then go to Select > Refine Edge. Try settings like on the image below. You should get visible only black pieces from the text layer:
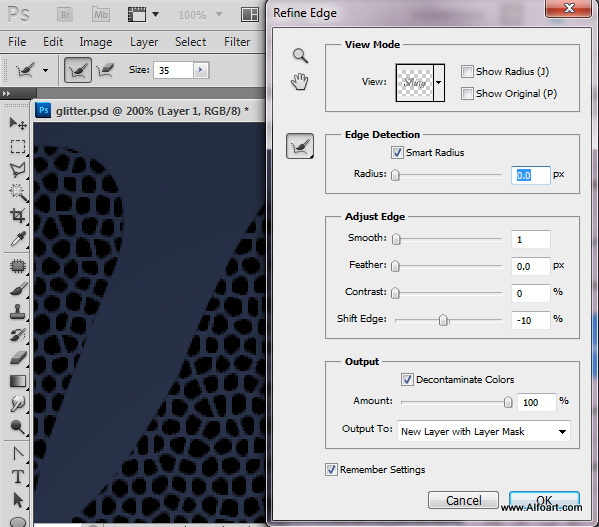
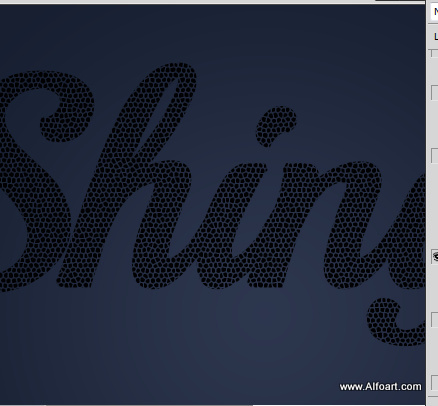
- Here is result of "Reifine Edge" option. White lines between black cells are gone.
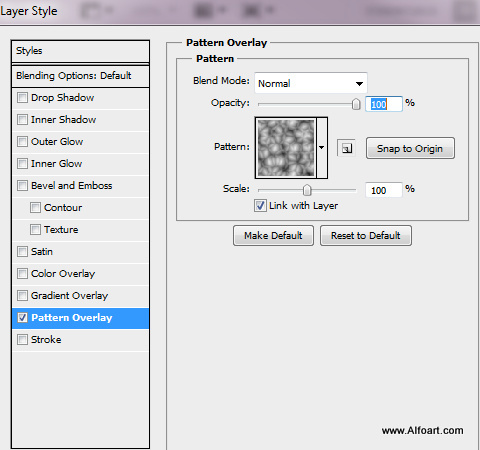
- Apply some gray/spotty pattern to this layer:
- I used "Cells" preset Photoshop pattern.
- Go to Stained Glass filter again. Exchange bg/fg colors before
 .
.
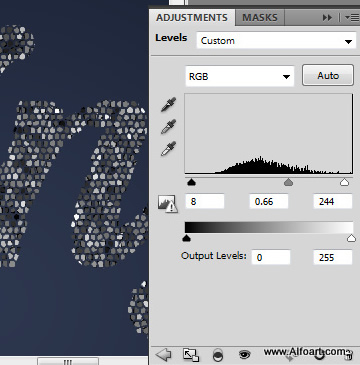
- Correct levels to increase sign contrast:
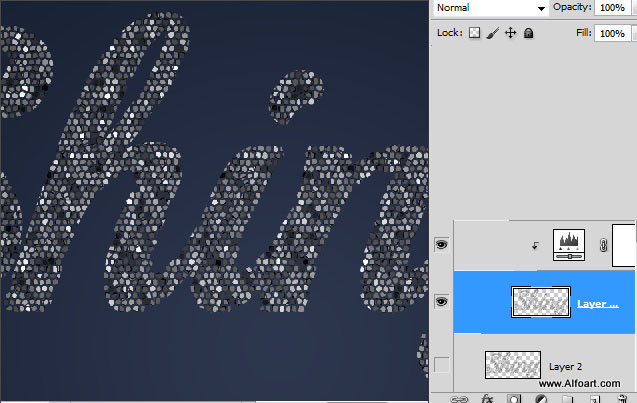
- Use similar settings to get result like on screen shots:
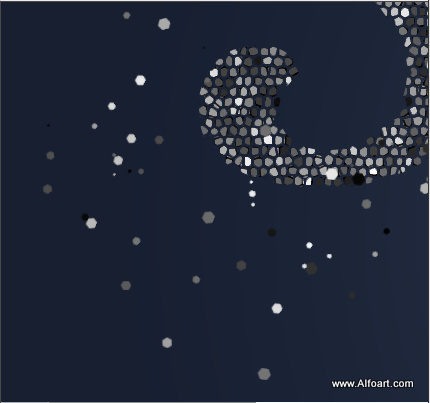
- Add Sparkles around the sign in a new layer.

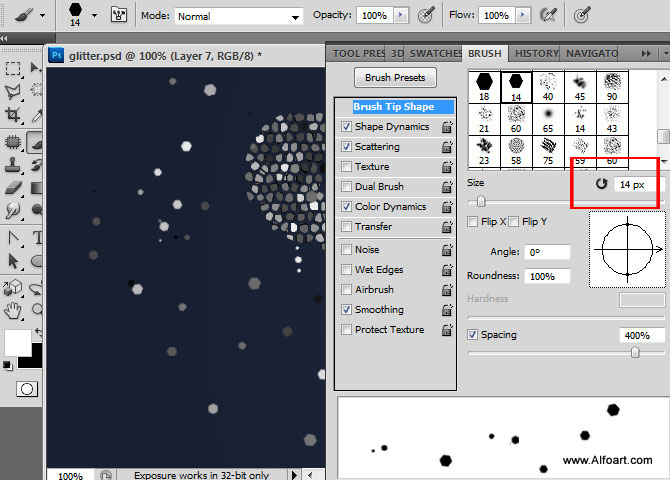
- Set bg/fg colors download glitter brushes, use one of them (18px) to create glitter tiles around the sign.
- You may correct brush size to get better result:
- If you would like to add crease texture effect, apply Stained Glass filter to this layer as well.

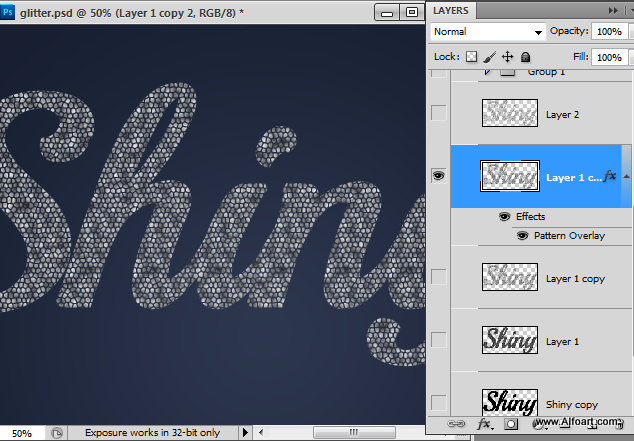
- Then merge sparkles layer and "Shiny" sign layer. Duplicate merged layer. Make one of duplicates invisible(we will use it later)
- Convert second duplicate to the 3D Postcard:
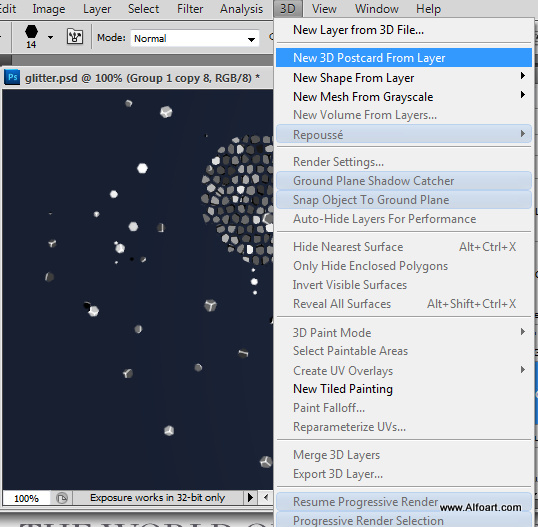
- Set following settings to get the same sign position as on screen shot below.
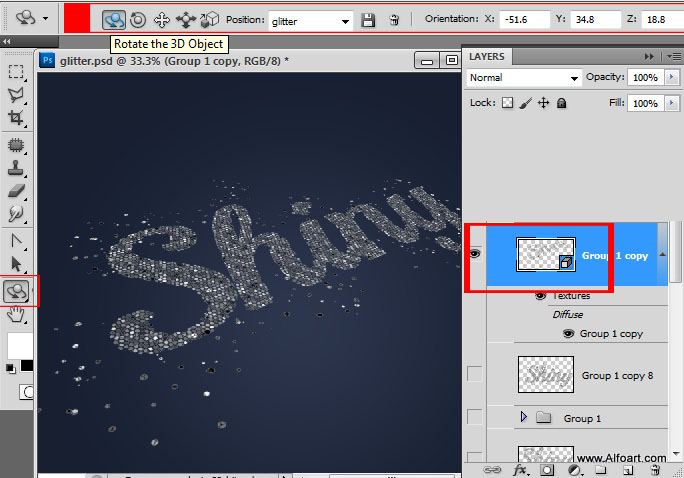
- Duplicate 3D layer, and rasterize the duplicate. Make 3D layer invisible, we will use it to set position for couple new layers in future steps.
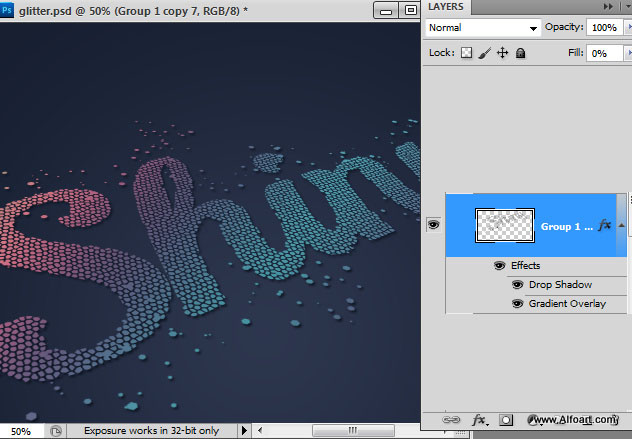
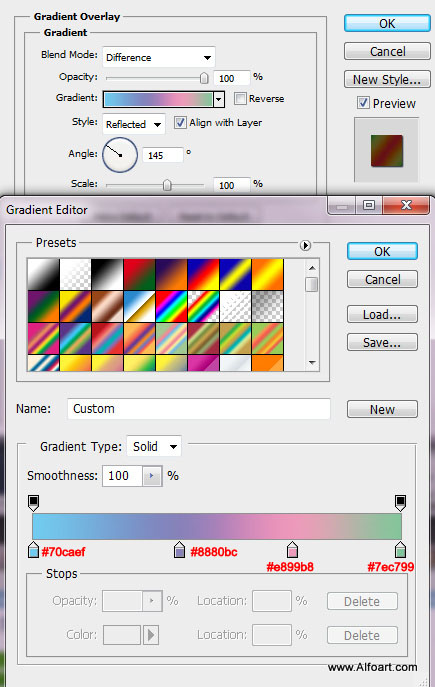
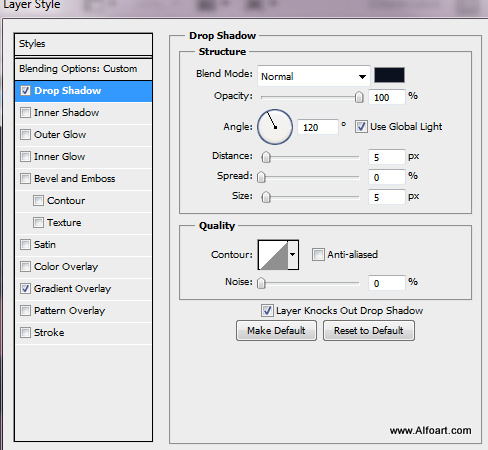
- Apply layer style setting like screen shot below to the rasterized duplicate.


0 comments: